Css scrollbar styling tutorial
Содержание:
- Использование псевдоэлементов CSS для настройки скроллбара
- Forcing Scrollbars
- Images
- How to use
- Pros and Cons of a Custom Scrollbar
- Images
- Methods
- Events
- Элемент управления ScrollBar
- WebKit
- ЕЩЁ
- Магия CSS
- Свойства элемента ScrollBar
- How to Create Custom Scrollbars with CSS
- API
- Hide Scrollbars But Keep Functionality
- Menus
- Why not pseudos
- Options
- Настройка скроллбара с помощью Jquery
- Методы, унаследованные от класса Object
- Методы, унаследованные от класса Control
Использование псевдоэлементов CSS для настройки скроллбара
IE5.5 был первым браузером, поддерживающим основные стили для скроллинга. Используя свойство scrollbar-face-color, можно были изменить цвет полос прокрутки. Хотя это и не добавляло большого разнообразия, но все же лучше, чем стандартная полоса прокрутки в браузере. Поскольку это свойство по-прежнему поддерживается в Internet Explorer, его можно использовать для пользователей, предпочитающих этот браузер.
Для WebKit-браузерах в CSS существует множество вариантов стилизации: изменение цвета и ширины полосы прокрутки, ползунков. Элементы скроллинга можно выбрать с помощью следующих псевдоэлементов.
::webkit-scrollbar — позволяет настроить ширину и цвет полосы прокрутки. Когда этот псевдоэлемент указан, WebKit выключает свой встроенный рендеринг скроллбара и использует настройки, указанные для div scroll CSS
Обратите внимание, что при этом будут выбраны все полосы прокрутки, присутствующие на странице. Если нужно настроить скроллбар для определенного элемента, необходимо применить это свойство к конкретному элементу:
/* Для всех скроллбаров */
::-webkit-scrollbar {
    width: 8px;
    background-color: #F5F5F5;
}

/* Для определенных скроллбаров */
.mybox::-webkit-scrollbar {
    width: 12px;
    background-color: #434343;
}
::-webkit-scrollbar-thumb – Это ползунок скроллбара (чем вы держите и прокручиваете страницу). Он может иметь цвет или использовать градиент в качестве фона. Пример реализации:
::-webkit-scrollbar-thumb {
    width: 8px;
    background-image: -webkit-linear-gradient(#F5F5F5, #8A8A8A);
}
::-webkit-scrollbar-track – позволяет настроить трек скроллбара (путь движения ползунка). Синтаксис псевдоэлемента для CSS scroll:
::-webkit-scrollbar-track {
    -webkit-box-shadow: inset 0 0 6px rgba(0,0,0,0.3);
    border: 1px solid black;
    background-color: #F5F5F5;
}
::-webkit-scrollbar-button – разработчики CSS3 не упускают из виду маленькие кнопки на концах полосы прокрутки. Их также можно настроить, так как они помогают, когда страница длинная и скроллбар становится слишком маленьким для прокрутки. Это свойство стиля верхнего и нижнего углов (или левого и правого для горизонтальных полос прокрутки):
::-webkit-scrollbar-button {
    background-color: #7c2929;
}
::-webkit-scrollbar-corner – позволяет справиться с ситуацией, когда появляются обе полосы прокрутки и пересекаются в углу:
::-webkit-scrollbar-corner {
    background-color: #b3b3b3;
}
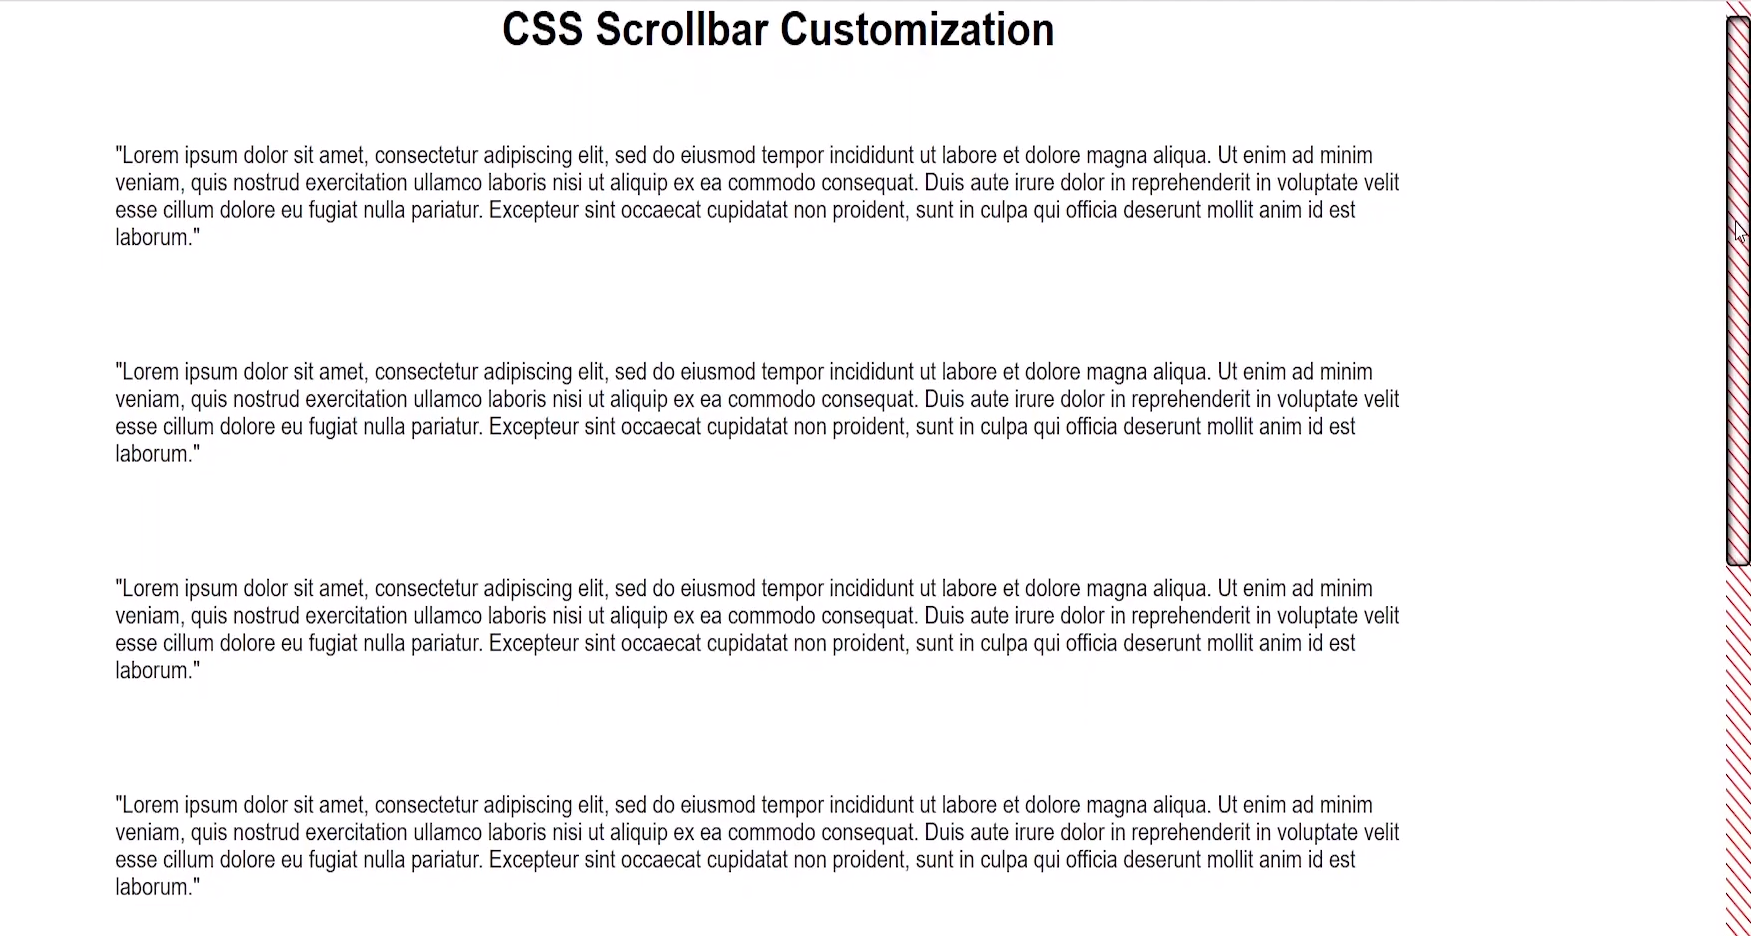
Вот несколько примеров, которые демонстрируют силу свойства scrolling CSS.
Forcing Scrollbars
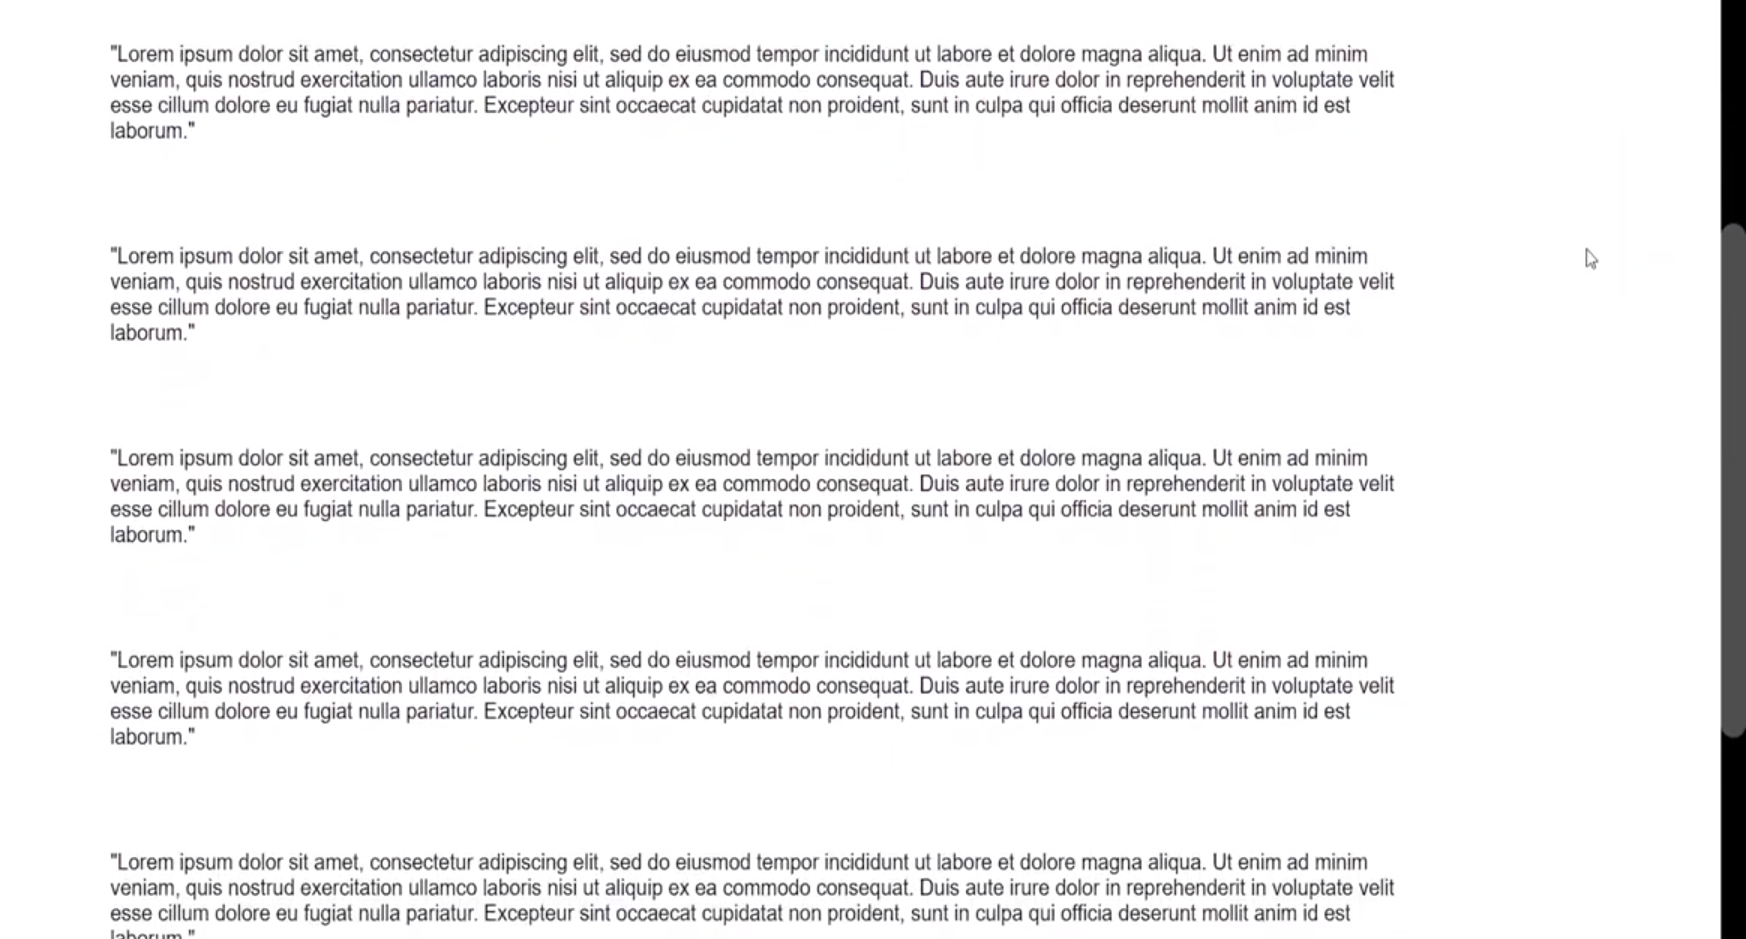
Scrollbars can appear in the usual place such as the browser window or on a tag. But you can also force scrollboxes onto other elements whenever their contents become too large to fit inside the box.
You can use CSS to create your own «inline scrollbars» by creating a box smaller than its contents. You can do this using the property. Specifically, you can use to force scrollbars to appear when the content overflows. This has an effect similar to inline frames (but using CSS is much simpler).
The above WebKit example on this page uses this technique. Here it is again but this time using inline styles and without all the scrollbar customization.
The property tells the browser what to do if the box’s contents is larger than the box itself. You can also specify , which will hide the scrollbars if the content doesn’t overflow, but display them if the content does overflow. You can also use to hide contents that don’t fit into the box and to automatically expand the box to fit the contents (this is the default setting)
Images
SlideshowSlideshow GalleryModal ImagesLightboxResponsive Image GridImage GridTab GalleryImage Overlay FadeImage Overlay SlideImage Overlay ZoomImage Overlay TitleImage Overlay IconImage EffectsBlack and White ImageImage TextImage Text BlocksTransparent Image TextFull Page ImageForm on ImageHero ImageBlur Background ImageChange Bg on ScrollSide-by-Side ImagesRounded ImagesAvatar ImagesResponsive ImagesCenter ImagesThumbnailsBorder Around ImageMeet the TeamSticky ImageFlip an ImageShake an ImagePortfolio GalleryPortfolio with FilteringImage ZoomImage Magnifier GlassImage Comparison Slider
How to use
First of all, please check if the container element meets the requirements and
the main CSS is imported.
<style>
  #container {
    position relative;
    width 600px;
    height 400px;
  }
</style>
<link rel="stylesheet" href="css/perfect-scrollbar.css">
Import via ES modules:
import PerfectScrollbar from 'perfect-scrollbar';
Or in browser:
<script src="dist/perfect-scrollbar.js"></script>
To initialise:
const container = document.querySelector('#container');
const ps = new PerfectScrollbar(container);

// or just with selector string
const ps = new PerfectScrollbar('#container');
It can be initialised with .
const ps = new PerfectScrollbar('#container', {
  wheelSpeed: 2,
  wheelPropagation: true,
  minScrollbarLength: 20
});
If the size of your container or content changes, call .
ps.update();
If you want to destroy the scrollbar, use .
ps.destroy();
ps = null; // to make sure garbages are collected
If you want to scroll to somewhere, just update .
const container = document.querySelector('#container');
container.scrollTop = ;
You can also get information about how to use the plugin from code in .
Pros and Cons of a Custom Scrollbar
Before jumping into the code, I think it’s worth looking at some potential tradeoffs that come with creating a custom scrollbar for your website or app.
The upside is that it can give your website a chance to standout compared to the millions of websites using the browser default scrollbar. Anything that can make your website even a little bit more memorable to visitors will benefit you long term.
On the other hand, many UI designers believe that you should never interfere with «standardized» UI components like the scrollbar. If you modify your scrollbar too much, it may confuse people using your website or app.
If you are doing this for your own personal website you probably don’t need to worry about it as long as you like how it looks.
On the other hand if you are thinking about implementing a custom scrollbar at work or some project where you want to make money, you should try A/B testing and make a data driven decision based on the results.
At the end of the day most of us are writing code to drive revenue for a business, so you always need to keep that in mind.
Images
SlideshowSlideshow GalleryModal ImagesLightboxResponsive Image GridImage GridTab GalleryImage Overlay FadeImage Overlay SlideImage Overlay ZoomImage Overlay TitleImage Overlay IconImage EffectsBlack and White ImageImage TextImage Text BlocksTransparent Image TextFull Page ImageForm on ImageHero ImageBlur Background ImageChange Bg on ScrollSide-by-Side ImagesRounded ImagesAvatar ImagesResponsive ImagesCenter ImagesThumbnailsBorder Around ImageMeet the TeamSticky ImageFlip an ImageShake an ImagePortfolio GalleryPortfolio with FilteringImage ZoomImage Magnifier GlassImage Comparison Slider
Methods
Click on the method name to open a more detailed documentation.
Instance methods:
| name | description |
|---|---|
| Returns or sets the options of the instance. | |
example(s):
//get options
var options = instance.options();
//set options
instance.options({ className : null });
|
|
| Updates the instance. | |
example(s):
//soft update instance.update(); //hard update instance.update(true); |
|
| Disables every observation of the DOM and puts the instance to «sleep». This behavior can be reset by calling the method. | |
example(s):
//put the instance to sleep instance.sleep(); |
|
| Returns the scroll information or sets the scroll position. | |
example(s):
//get scroll information
var scrollInfo = instance.scroll();
//scroll 50px on both axis
instance.scroll(50);
//add 10px to the scroll offset of each axis
instance.scroll({ x : "+=10", y : "+=10" });
//scroll to 50% on both axis with a duration of 1000ms
instance.scroll({ x : "50%", y : "50%" }, 1000);
//scroll to the passed element with a duration of 1000ms
instance.scroll($(selector), 1000);
|
|
| Stops the current scroll-animation. | |
example(s):
//scroll-animation duration is 10 seconds
instance.scroll({ y : "100%" }, 10000);
//abort the 10 seconds scroll-animation immediately
instance.scrollStop();
//scroll-animation duration is 1 second
instance.scroll({ y : "100%" }, 1000);
|
|
| Returns all relevant elements. | |
example(s):
//get the element to which the plugin was applied var pluginTarget = instance.getElements().target; |
|
| Returns a object which describes the current state of this instance. | |
example(s):
//get the state of the plugin instance var pluginState = instance.getState(); |
|
| Destroys and disposes the current instance and removes all added elements form the DOM. | |
example(s):
//destroy the instance instance.destroy(); |
|
| Returns the instance of a certain extension of the current plugin instance. | |
example(s):
//get the instance of the extension "myExtension"
var extensionInstance = instance.ext("myExtension");
|
|
| Adds a extension to the current instance. | |
example(s):
//add the registered extension "myExtension" to the plugin instance
var extensionInstance = instance.addExt("myExtension");
|
|
| Removes a extension from the current instance. | |
example(s):
//add the registered extension "myExtension" to the plugin instance
instance.addExt("myExtension");
//remove the added extension "myExtension" from the plugin instance
instance.removeExt("myExtension");
|
Global methods:
| name | description |
|---|---|
| Returns or Sets the default options for each new plugin initialization. | |
example(s):
//get the current defaultOptions
var defaultOptions = OverlayScrollbars.defaultOptions();
//set new default options
OverlayScrollbars.defaultOptions({
    className : "my-custom-class",
    resize    : "both"
});
|
|
| Returns a plain object which contains global information about the plugin and each instance of it. | |
example(s):
//get the global information var globals = OverlayScrollbars.globals(); |
|
| Registers, Unregisters or returns extensions. | |
example(s):
//register a dummy extension with the name "myExtension"
OverlayScrollbars.extension("myExtension", function() { return { }; });
//unregister the extension with the name "myExtension"
OverlayScrollbars.extension("myExtension", null);
//get the extension-object with the name "myExtension"
var registeredExtension = OverlayScrollbars.extension("myExtension");
//get all registered extension-objects
var extensionObjects = OverlayScrollbars.extension();
|
|
| Checks whether the passed object is a non-destroyed OverlayScrollbars instance. | |
example(s):
//create OverlayScrollbars instance
var osInstance = OverlayScrollbars(document.body, { });
//returns true
OverlayScrollbars.valid(osInstance);
//destroy the instance
osInstance.destroy();
//returns false
OverlayScrollbars.valid(osInstance);
//returns false
OverlayScrollbars.valid({ });
|
Events
customScroll
Triggered whenever content is scrolled. Separate events are fired when vertical and horizontal scrollbar is moved.
Handler function takes two arguments. is standard jquery event object. is an object with 3 fields holding scroll specific information:
- – floating point number in range 0.0 to 100.0 indicating percentage position of the scrollbar
- – string that can take following 4 values: , , , – indicates what direction the scrollbar was moved in
- – string indicating which scrollbar was moved: for horizontal scrollbar and for vertical scrollbar
You can also bind handler to that event when initializing scrollbar:
Элемент управления ScrollBar
UserForm.ScrollBar – это элемент управления пользовательской формы, представляющий из себя полосу прокрутки с кнопками, реагирующий как на перемещение ползунка, так и на нажатие кнопок.
Элемент управления ScrollBar предназначен в VBA Excel для ввода пользователем числовых данных, которые ограничены минимальным и максимальным значениями. Увеличение или уменьшение значения полосы прокрутки осуществляется с указанным шагом при помощи ползунка или кнопок.
Визуально, элемент управления ScrollBar состоит из полосы прокрутки и двух кнопок, работающих аналогично кнопкам элемента управления SpinButton. Ориентация может быть горизонтальной или вертикальной в зависимости от настроек.
Полоса прокрутки в VBA Excel используется в паре с элементом управления TextBox или Label. Вспомогательный элемент необходим, чтобы отобразить текущее значение ScrollBar на пользовательской форме.
WebKit
Расширения WebKit, связанные с настройкой полосы прокрутки:
Каждый из них может быть объединен с дополнительными псевдоселекторами:
- — горизонтальный псевдокласс применяется к любым частям полосы прокрутки, имеющим горизонтальную ориентацию.
- — вертикальный псевдокласс применяется к любым частям полосы прокрутки, которые имеют вертикальную ориентацию.
- — псевдокласс декремента применяется к кнопкам и фрагментам дорожки. Он указывает, будет ли кнопка или элемент дорожки уменьшать позицию просмотра при использовании (например, вверх по вертикальной полосе прокрутки, влево по горизонтальной полосе прокрутки).
- — псевдокласс увеличения применяется к кнопкам и фрагментам дорожки. Он указывает, будет ли кнопка или элемент дорожки увеличивать позицию просмотра при использовании (например, вниз на вертикальной полосе прокрутки, прямо на горизонтальной полосе прокрутки).
- — псевдокласс start применяется к кнопкам и фрагментам дорожки. Указывает, находится ли объект перед большим пальцем.
- — псевдокласс end применяется к кнопкам и фрагментам дорожек. Указывает, находится ли объект после большого пальца.
- — псевдокласс с двумя кнопками применяется к кнопкам и фрагментам дорожек. Он используется для определения того, является ли кнопка частью пары кнопок, которые находятся на одном конце полосы прокрутки. Для фрагментов дорожки указывает, упирается ли элемент дорожки в пару кнопок.
- — псевдокласс с одной кнопкой применяется к кнопкам и фрагментам дорожек. Он используется для определения того, находится ли кнопка в конце полосы прокрутки. Для фрагментов треков указывает, примыкает ли фрагмент трека к одной кнопке.
- — Применяется к фрагментам дорожки и указывает, идет ли фрагмент дорожки к краю полосы прокрутки, т.е. на этом конце дорожки нет кнопки.
- — Применяется ко всем элементам полосы прокрутки и указывает, присутствует ли угол полосы прокрутки.
- — применяется ко всем элементам полосы прокрутки и указывает, является ли окно, содержащее полосу прокрутки, активным в данный момент. (В последние ночи этот псевдокласс теперь применяется и к :: selection. Мы планируем расширить его для работы с любым контентом и предложить его в качестве нового стандартного псевдокласса.)
Примеры этих комбинаций
Стили прокрутки — Webkit.org
ЕЩЁ
Полноэкранное видеоМодальное окноШкала времениИндикатор прокрутки Индикатор выполненияПанель навыковПолзунок диапазонаПодсказки при наведенииВсплывающие окнаСкладная секцияКалендарьВключить HTMLСписок делЗагрузчикиЗвездный рейтингПользовательский рейтингНаложениеКонтактные чипыКарточкиФлип-картаКарточка профиляКарточка товараОкно тревогиВыноска сообщенияПримечаниеМеткиКругиHR Горизонтальная линияКупонГруппа списковОтзывчивый текстВырезанный текстСветящийся текстФиксированный подвалЛипкий элементРавная высота столбцовОчистка поплавкаОтзывчивые поплавкиСнэк-бар/тостПолноэкранное режимЧертеж при прокруткеПлавная прокруткаГрадиент фонаЛипкий заголовокИзменить заголовок при прокруткеОтзывчивые столбцы ценПараллаксСоотношение сторонПереключатель нравится/не нравитсяПереключатель скрыть/показатьПереключаель текстаПереключатель классаДобавить классУдалить классАктивный классДревовидное представлениеУдалить свойствоАвтономный режим обнаруженияСделать скрытый элементПеренаправление веб страницыУвеличить при наведенииФлип-боксЭлемент вертикально по центруПереход при наведении курсораСтрелкиФигурыСсылка для скачиванияПолная высота элементаОкно браузераПользовательская полоса прокруткиРазличные устройстваЦвет заполнителяЦвет выделения текстаЦвет макераВертикальная линияАнимированные иконкиТаймер обратного отсчетаПишущая машинкаСтраница заставкиСообщение чатаВсплывающее окно чатаРазделенный экранРекомендацииСчетчик разделаСлайд-шоу цитатЗакрываемые злементы спискаТипичные точки прерыванияПеретаскиваемый HTML элементМедиа запросы JSПодсветка синтаксисаJS анимацииПолучить элементы Iframe
Магия CSS
Без нее, конечно, не обойтись. Во-первых, нам нужно скрыть нативные скроллбары. Это уже можно сделать во всех браузерах. Для этого есть стандартное правило , которое на данный момент работает как раз только в Firefox. Для старых версий Edge и IE есть его аналог . Однако IE мы поддерживать не будем, так как нам понадобится . В Chrome и Safari уже давно можно использовать псевдоселектор .
Во-вторых, чтобы не нарушать нативную работу и скроллить сам контейнер, нам нужно обойтись без вложенной скроллящейся обертки. А значит, необходимо реализовать что-то вроде локального для ползунков. Абсолютное позиционирование не поможет: при прокрутке ползунки будут исчезать из виду вместе с содержимым.
Этого мы сможем добиться с помощью хитрой комбинации у ползунков и у самого компонента. Внутри нам понадобятся два контейнера:
Для начала мы изолируем контекст наложения. Не все про это знают, из-за чего на проектах часто можно встретить . Чтобы ничто из контента не смогло перекрыть ползунки, мы повесим на него . Это создаст в его рамках новый контекст наложения и не позволит внутренним элементам перекрыть что-то снаружи.
Ползункам зададим , чтобы поднять их выше контента, а также минимальную ширину 100%. Получим следующую картину:
Ползунки заняли все место, сдвинув содержимое вправо. При этом прокрутка работает и ползунки никуда не деваются. Остается добавить им , чтобы они «подвинулись» и освободили место под содержимое компонента.
Свойства элемента ScrollBar
| Свойство | Описание |
|---|---|
| BackColor | Цветовое оформление элемента управления. |
| Delay* | Время между последовательными событиями при удержании кнопки. |
| ControlTipText | Текст всплывающей подсказки при наведении курсора на полосу прокрутки. |
| Enabled | Возможность взаимодействия пользователя с элементом управления. True – взаимодействие включено, False – отключено (цвет стрелок становится серым). |
| Height | Высота элемента управления. |
| Left | Расстояние от левого края внутренней границы пользовательской формы до левого края элемента управления. |
| Max | Максимальное значение свойства Value. |
| Min | Минимальное значение свойства Value. |
| Orientation** | Задает горизонтальную или вертикальную ориентацию элемента управления ScrollBar. |
| SmallChange | Шаг изменения значения свойства Value. |
| TabIndex | Определяет позицию элемента управления в очереди на получение фокуса при табуляции, вызываемой нажатием клавиш «Tab», «Enter». Отсчет начинается с 0. |
| Top | Расстояние от верхнего края внутренней границы пользовательской формы до верхнего края элемента управления. |
| Visible | Видимость элемента ScrollBar. True – элемент отображается на пользовательской форме, False – скрыт. |
| Width | Ширина элемента управления. |
* По умолчанию свойство Delay равно 50 миллисекундам. Это означает, что первое событие (SpinUp, SpinDown, Change) происходит через 250 миллисекунд после нажатия кнопки, а каждое последующее событие – через каждые 50 миллисекунд (и так до отпускания кнопки).
** По умолчанию включена автоматическая ориентация, которая зависит от соотношения между шириной и высотой элемента управления. Если ширина больше высоты – ориентация горизонтальная, если высота больше ширины – ориентация вертикальная.
В таблице перечислены только основные, часто используемые свойства полосы прокрутки. Все доступные свойства отображены в окне Properties элемента управления ScrollBar.
How to Create Custom Scrollbars with CSS
With our setup out of the way, we can jump into the fun part of the tutorial. The first part of this section will be learning the various CSS properties available to use for styling.
In the second part we’ll implement four different types of scrollbars to give you some ideas for making your own scrollbars.
Unfortunately we still don’t have any standardized cross-browser support for styling scrollbars with CSS. Firefox and Webkit-based browsers like Chrome, Edge, and Safari have different properties for styling.
This tutorial will mainly focus on Webkit browsers, because they offer more options for styling, but we will briefly cover Firefox as well.
- – the entire scrollbar
- – the entire progress bar area of the scrollbar
- – the draggable section of the scrollbar
The below properties are available but are less commonly used:
- – the up/down buttons at each end of the scrollbar
- – part of scrollbar not covered by the thumb
- – bottom corner where horizontal and vertical scrollbars meet
There are currently two available CSS properties for styling scrollbars in Firefox
- – controls width of scrollbar, with only two options available being or
- – takes two colors which are used for the coloring of the thumb and track of the scrollbar in that order
Now that you know your options for customizing scrollbars, let’s put it into practice with some examples.
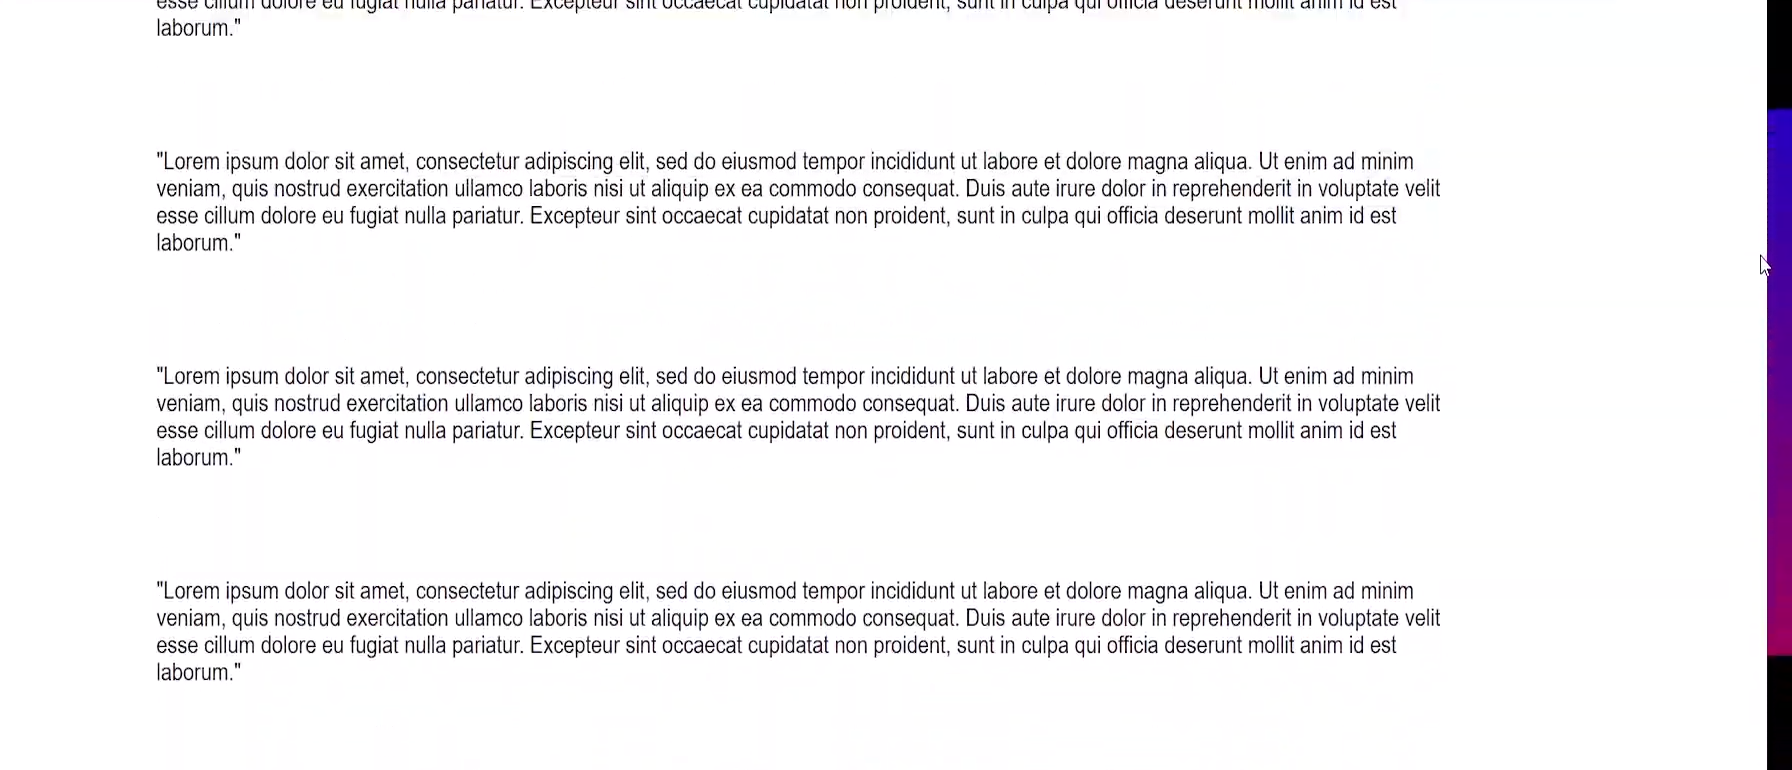
Dark theme websites are all the rage right now. Sticking with the default browser scrollbar could come off as jarring to users because it doesn’t fit all that well with a dark themed website.
Let’s use our newfound knowledge of CSS to create a dark theme scrollbar with a rounded border inspired by CSS Tricks’ website:
The result is a little hard to see in the screenshot, but the track is black and the thumb is a darkish gray color.
For this example you’ll be making a minimalist scrollbar. This type of scrollbar would work well if you are going for a simple, elegant style for your website.
The most important thing to note is that you have the ability to use and pseudo-elements from CSS to further style your scrollbar. In this case the scrollbar will turn a darker gray when you hover and drag on the thumb.
The result:
In this section, the focus is on using a repeating linear gradient to create a pattern effect on our scrollbar track. The same could be done for the scrollbar thumb as well.
Another thing to notice is that you can style the scrollbar thumb with a border, which you can use to create a number of cool effects. In this case I made the background color of the thumb transparent so that you can see the scrollbar track pattern as we scroll.
The result:
This example uses a linear gradient and a trick with box shadow to make it look like the scrollbar is changing color as you move up and down the page. What’s really happening is that the background of the scrollbar track is being revealed beneath the thumb.
It works because the box-shadow takes up all the space of the scrollbar except for where the thumb is. Because the thumb is transparent the gradient color of the background shows through.
The result:
API
There are some methods of the plugin you may want to call.
setAnimationSpeed(speed)
Changes programmatic scroll animation speed to the passed – an integer indicating how many milliseconds the animation should last.
It’s also possible to set the animation speed upon plugin initialization. By default it equals .
Note that you may use this method if want to have some scrolls animated and some without animation – to get rid of the animation just call it with .
scrollTo(element)
Scrolls viewport to a given element inside scrolled content. An element might be jQuery object or a selector string. To control animation speed use initialization option. Example usage:
scrollToX(x)
Sets horizontal scrollbar position to pixels. should be in range from 0 to scrolled content width. If it’s outside that range, content will be scrolled to the start or to the end. To control animation speed use initialization option.
scrollToY(y)
Sets vertical scrollbar position to pixels. should be in range from 0 to scrolled content height. If it’s outside that range, content will be scrolled to the start or to the end. To control animation speed use initialization option.
resize(keepPosition)
Recalculates and sets sizes of all scrollbar components. Call this whenever your scrolled block changes its size and scrollbar becomes invalid. After you call it scrollbar is adjusted to new sizes of your block.
Use parameter to decide if the scrollbar should stay in the same position () or change position () so that the thumb position change is proportional to the size change. The first case is useful if your container changes size and you want to show exactly the same content that was visible before size change. The second case is useful when you’re listening to window resize.
Hide Scrollbars But Keep Functionality
To hide the scrollbars, but still be able to keep scrolling, you can use the following code:
Example
/* Hide scrollbar for Chrome, Safari and Opera */
.example::-webkit-scrollbar { display: none;}/* Hide scrollbar
for IE, Edge and Firefox */.example { -ms-overflow-style: none; /*
IE and Edge */ scrollbar-width: none; /* Firefox */}
Webkit browsers, such as Chrome, Safari and Opera, supports the non-standard pseudo element, which allows us to modify the look of the browser’s scrollbar. IE and Edge supports the property,
and Firefox supports the property, which allows us to hide the scrollbar, but keep functionality.
❮ Previous
Next ❯
Menus
Icon BarMenu IconAccordionTabsVertical TabsTab HeadersFull Page TabsHover TabsTop NavigationResponsive TopnavNavbar with IconsSearch MenuSearch BarFixed SidebarSide NavigationResponsive SidebarFullscreen NavigationOff-Canvas MenuHover Sidenav ButtonsSidebar with IconsHorizontal Scroll MenuVertical MenuBottom NavigationResponsive Bottom NavBottom Border Nav LinksRight Aligned Menu LinksCentered Menu LinkEqual Width Menu LinksFixed MenuSlide Down Bar on ScrollHide Navbar on ScrollShrink Navbar on ScrollSticky NavbarNavbar on ImageHover DropdownsClick DropdownsCascading DropdownDropdown in TopnavDropdown in SidenavResp Navbar DropdownSubnavigation MenuDropupMega MenuMobile MenuCurtain MenuCollapsed SidebarCollapsed SidepanelPaginationBreadcrumbsButton GroupVertical Button GroupSticky Social BarPill NavigationResponsive Header
Why not pseudos
Why not pseudo-elements?
Scrollbars are more like text-decoration, borders, outlines than they are things like ::before/::after, or ::first-letter or ::first-line.
Just as we don’t have separate pseudo-elements for ::text-underline ::text-overline ::text-strike-through, or different border or outline sides, it doesn’t make sense to have separate pseudos for scrollbars or scrollbar parts!
, a feature mistakenly exposed to the web, should not need to be implemented everywhere for interop.
The scrollbar pseudo-elements as a set are not a good idea:
- OSs continuously evolve their scrollbar designs to provide better user experience, beyond the ability of any set of pseudo-elements to accurately model this over time.
- MacOS and Ubuntu, both have quite different scrollbar structure than that on Windows. Having something like the scrollbar pseudo-elements specified may make it harder for browsers to have decent behavior on different platforms.
- Different OSs having different scrollbar structure also means testing interop is harder, because you would need to take not only engines but also platforms into account.
Options
There are some options you can pass when initializing scrollbar:
| Option | Type | Default value | Description |
|---|---|---|---|
| Speed of the animation of programmatic scrolling. It’s possible to edit it with method. Animation speed equal to means no animation. | |||
| By default thumb height (in case of vertical scrollbar) is calculated automatically depending on viewport and overview height but you can fix thumb height to your chosen pixel value by setting this option. Make sure to not set in css if you set because has priority. | |||
| Option analogical to but applied to thumbs of horizontal scrollbars. | |||
| Indicates whether or not, horizontal scrollbar should be shown when it’s necessary. | |||
| When the scrolling event occurs (e.g. down arrow key, mouse wheel) and it doesn’t cause the scrollbar to move (e.g. because the scrollbar is in extreme position), the event is propagated further which will cause the parent container to scroll. If it does cause the scrollbar movement then such event is stopped from propagating further and the parent container won’t scroll. This default behaviour can be changed by setting . It will cause the custom scrollbar to always stop scrolling event propagation no matter if the scrollbar changed or didn’t change its position. | |||
| A css skin class that will be added to the scrolled container. You can define it in html as well as here in options. Note that skin has to be defined in one of those ways. | |||
| Indicates how fast touch scroll should be. When you swipe your finger by pixels the content will be scrolled by pixels. | |||
| Indicates whether scrollbar should recalculate thumb size when window is resized. See for an example. | |||
| Same as above but applies to vertical scrollbar. | |||
| Indicates how fast mouse wheel scroll should be. When you make the smallest possible mouse wheel move, the content will be scrolled by pixels. |
For example:
Настройка скроллбара с помощью Jquery
Если вам нравится программирование front-end, вы можете использовать Jquery-плагин JScrollPane. Он довольно прост в использовании. После того, как вы загрузили и подключили соответствующие файлы в заголовке документа, нужно вызвать одну Javascript-функцию для инициализации панели прокрутки. Вы можете легко изменить дизайн полосы прокрутки с помощью CSS или выбрать одну из существующих тем.
С помощью этого плагина вы можете создавать скроллинг для всех типов браузеров. Так что я бы посоветовал вам воспользоваться им, чтобы сэкономить время и охватить сразу все браузеры:
<link rel="stylesheet" type="text/css" href="jquery.jscrollpane.css" />

<!-- jQuery file from Google CDN -->
<script src="https://ajax.googleapis.com/ajax/libs/jquery/1.8.2/jquery.min.js"></script>

<!-- the jScrollPane script -->
<script src="jquery.jscrollpane.min.js"></script>

<script>
    $(document).ready(function () {
        $('.container').jScrollPane();
    }
});
</script>
Если вы захотите изменить настройки CSS scroll по умолчанию, предоставленные JScrollPane, нужно редактировать стили соответствующих элементов:
.jspTrack {
    background: #b46868;
    position: relative;
}

.jspDrag {
    background: #c43232;
    position: relative;
    cursor: pointer;
}
Методы, унаследованные от класса Object
| Имя метода | Краткое описание | |
| clone | Метод clone создает копию объекта. |
|
| dispose | Метод dispose уничтожает компонент. |
|
| getHashCode | Метод getHashCode возвращает хэш-код объекта репозитория. |
|
| getSettings | Метод getSettings возвращает настройки объекта репозитория. |
|
| getTypeName | Метод getTypeName возвращает имя типа объекта без пространства имен, к которому он принадлежит. |
|
| isEqual | Метод isEqual определяет, равен ли заданный объект текущему объекту репозитория. |
|
| isLive | Метод isLive определяет действительность объекта репозитория. |
|
| removeAllEvents | Метод removeAllEvents удаляет все обработчики событий объекта по заданному контексту. |
|
| setSettings | Метод setSettings задает настройки объекта репозитория. |
|
| defineProps | Метод defineProps создает методы get и set из массива имен для указанного класса. |
|
| keys | Метод keys возвращает массив названий методов и свойств для указанного объекта. |
См. также:
Справочная
система на версию 9.3
от 29/06/2021,
ООО «ФОРСАЙТ»,
Методы, унаследованные от класса Control
| Имя метода | Краткое описание | |
| Метод addClass добавляет CSS-класс к компоненту. |
||
| addEvent | Метод addEvent добавляет обработчик события на DOM-вершину. |
|
| addEventHandler | Метод addEventHandler добавляет обработчик события на DOM-вершину. |
|
| addEvents | Метод addEvents добавляет массив обработчиков событий на DOM-вершину. |
|
| Метод addStateClass добавляет CSS-класс к компоненту и удаляет прежний CSS-класс. |
||
| addStyleBySelector | Метод addStyleBySelector создает блок со стилем с указанным css-селектором. |
|
| Метод addToNode добавляет компонент в указанную вершину. |
||
| bindEvents | Метод bindEvents подписывает элемент на все стандартные события. |
|
| Метод clearStylesCache очищает кэш стилей компонента. |
||
| Метод getAnchorFlags возвращает JSON-объект с настройками текущей позиции компонента. |
||
| Метод getClass возвращает текущие css-классы компонента. |
||
| Метод getCssStyle возвращает стили для указанной вершины. |
||
| Метод getDomNode возвращает главную DOM-вершину компонента. |
||
| Метод getFocused определяет наличие фокуса у компонента. |
||
| getFunctionByName | Метод getFunctionByName возвращает функцию по имени. |
|
| getIsBinded | Метод getIsBinded возвращает признак подписи элемента на события DOM-вершины. |
|
| Метод hasClass определяет, задан ли для корневой DOM-вершины элемента управления указанный CSS-класс. |
||
| Метод hide скрывает элемент управления. |
||
| Метод hideToolTip очищает таймаут появления подсказки и скрывает ее, если она был показана. |
||
| Метод isResingNow определяет, изменяются ли в данный момент размеры компонента. |
||
| refreshBindingProperty | Метод refreshBindingProperty обновляет привязанное свойство по имени. |
|
| refreshItemsStyle | Метод refreshItemsStyle обновляет CSS-стили дочерних элементов. |
|
| refreshStyle | Метод refreshStyle обновляет CSS-стили элемента. |
|
| Метод removeClass удаляет CSS-класс из компонента. |
||
| Метод removeEvent удаляет обработчик события у DOM-вершины. |
||
| removeEventHandler | Метод removeEventHandler удаляет обработчик события DOM-вершины. |
|
| removeFromDOM | Метод removeFromDOM удаляет вершину из DOM-структуры. |
|
| Метод removeStateClasses удаляет CSS-классы компонента. |
||
| Метод setDraggable устанавливает возможность перетаскивания компонента на html-странице. |
||
| Метод setFocus устанавливает фокус компонента. |
||
| Метод setIsHovered отображает компонент как при наведении на него курсора. |
||
| Метод setIsPressed отображает компонент как при клике по нему. |
||
| Метод setOpacityIE8 устанавливает значение прозрачности компонента в браузере InternetExplorer 8. |
||
| Метод setSize устанавливает размеры компонента. |
||
| Метод show отображает элемент управления. |
||
| unBindEvents | Метод unBindEvents отписывает элемент от всех стандартных событий. |
|
|
Метод updatePosition корректирует размер и положение при абсолютном позиционировании на основе текущих параметров. |
||
| Метод updateSize обновляет размеры компонента подгонке размеров контейнера, в котором находится компонент. |